SwiftUIアプリでローカル通知を出し、通知から起動後に自動で画面遷移を行います。
通知はバックグラウンドとフォアグラウンドに対応、
アプリは起動済みにも未起動にも対応しています。
特にアプリ未起動時の通知からの起動は、
AppDelegateを使用している場合が多かったのですが、
SwiftUIのみのコードでも問題なく動作しました。
UI部分
実際の通知の前にアプリの中身です。
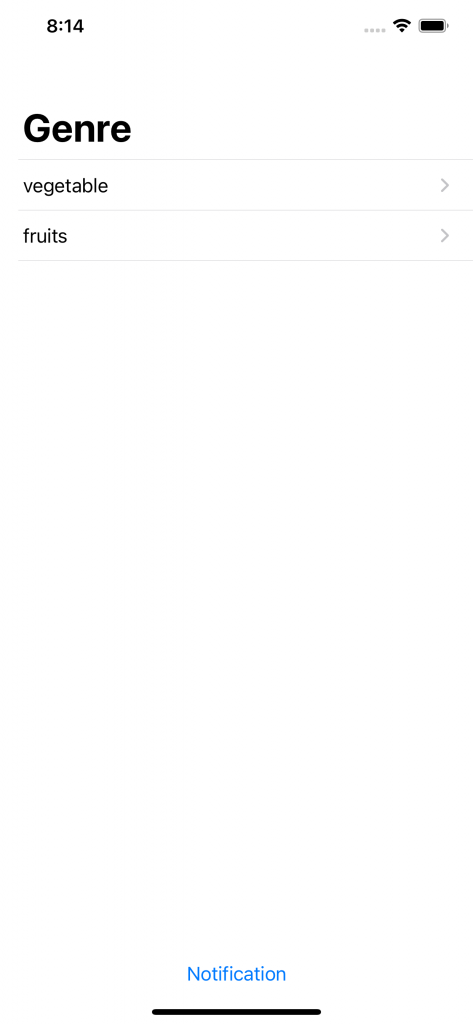
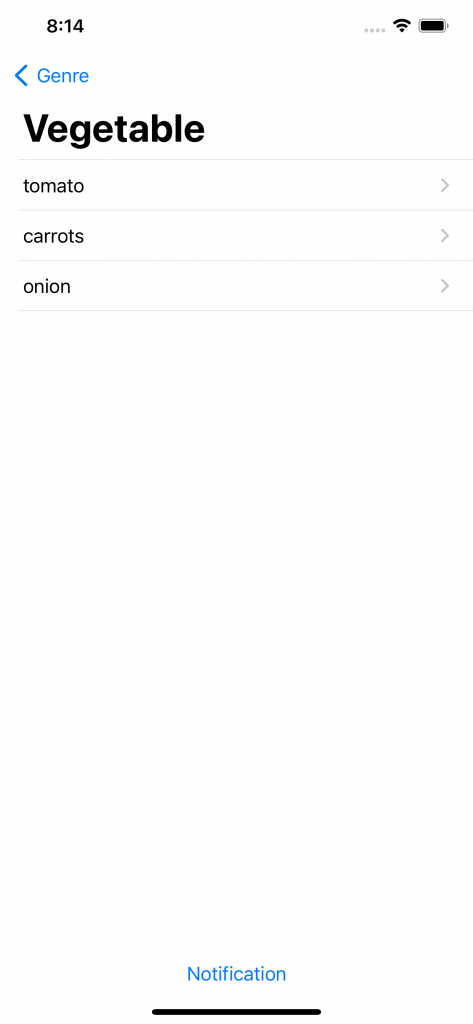
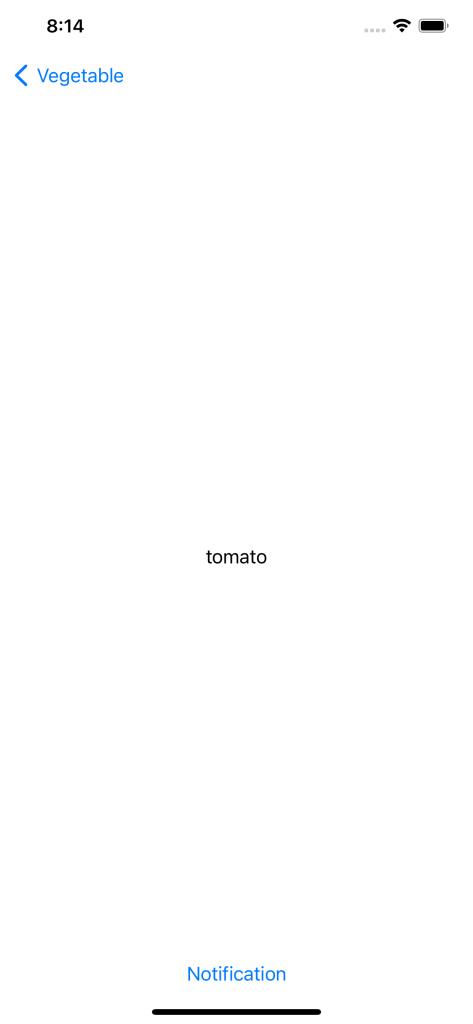
ざっくりNavigationViewにListでNavigetionLink並べて遷移する良くあるパターンです。
import SwiftUI

@main
struct DeepLinkTestApp: App {

    var body: some Scene {
        WindowGroup {
            ContentView()
                .environmentObject(NotificationModel())
        }
    }
}
struct ContentView: View {

    @EnvironmentObject var notificationModel:NotificationModel

    @SceneStorage("Genre") var genre:String?
    @SceneStorage("Item") var item:String?

    var body: some View {
        VStack {
            NavigationView{
                List{
                    NavigationLink(
                        destination: VegetableView(),
                        tag: "vegetable",
                        selection: self.$genre,
                        label: {Text("vegetable")})
                    NavigationLink(
                        destination: FruitsView(),
                        tag: "fruits",
                        selection: self.$genre,
                        label: {Text("fruits")})
                }.navigationTitle("Genre")
            }
            Button(action: {
                self.notificationModel.setNotification(genre: self.genre ?? "", item: self.item ?? "")
            }, label: {
                Text("Notification")
            })
        }
        .onOpenURL(perform: { url in
            let comp = URLComponents(url: url, resolvingAgainstBaseURL: true)

            self.genre = nil
            self.item = nil

            DispatchQueue.main.asyncAfter(deadline: .now() + 1){
                self.genre = comp?.queryItems?.first?.value
            }
            DispatchQueue.main.asyncAfter(deadline: .now() + 2){
                self.item = comp?.queryItems?.last?.value
            }
        })
    }
}
struct VegetableView: View {
@SceneStorage("Item") var vegetable:String?
let vegetableList = ["tomato","carrots","onion"]
var body: some View{
List{
ForEach(self.vegetableList ,id:\.self){ vegetable in
NavigationLink(
destination: Text(vegetable),
tag: vegetable,
selection: self.$vegetable,
label: {Text(vegetable)})
}
}.navigationTitle("Vegetable")
}
}
struct FruitsView: View {
@SceneStorage("Item") var fruits:String?
let fruitsList = ["apple","banana","strawberry"]
var body: some View{
List{
ForEach(self.fruitsList ,id:\.self){ fruits in
NavigationLink(
destination: Text(fruits),
tag: fruits,
selection: self.$fruits,
label: {Text(fruits)})
}
}.navigationTitle("Fruits")
}
}データは今回は適当に作っています。一意に定まるものが有れば何でも良いです。
ユーザーが追加する場合はUUIDを振られる様にしておけば良いと思います。
後でStringにして使うことになるのでUUIDは丁度いいですね。
遷移には@SceneStorageを使っているので、初めて見る人はこちらで確認して下さい。
通知部分
import SwiftUI
import UserNotifications

class NotificationModel: ObservableObject {

    var notificationDelegate = ForegroundNotificationDelegate()

    init() {
        UNUserNotificationCenter.current().delegate = self.notificationDelegate
    }

    func setNotification(genre:String ,item:String){

        UNUserNotificationCenter.current().requestAuthorization(
            options: [.alert, .sound, .badge]){
            (granted, _) in
            if granted {
                //許可
                self.makeNotification(genre:genre ,item:item)
            }else{
                //非許可
            }
        }

    }

    func makeNotification(genre:String ,item:String){

        //日時
        let notificationDate = Date().addingTimeInterval(10)//10秒後
        let dateComp = Calendar.current.dateComponents([.year, .month, .day, .hour, .minute, .second], from: notificationDate)

        //日時でトリガー指定
        let trigger = UNCalendarNotificationTrigger(dateMatching: dateComp, repeats: false)

        //通知内容
        let content = UNMutableNotificationContent()
        content.title = "DeepLinkTest"
        content.body = "\(genre):\(item)"
        content.sound = UNNotificationSound.default

        //リクエスト作成
        let identifier = "Genre=\(genre)&Item=\(item)"
        let request = UNNotificationRequest(identifier: identifier, content: content, trigger: trigger)

        //通知をセット
        UNUserNotificationCenter.current().add(request, withCompletionHandler: nil)
    }
}


class ForegroundNotificationDelegate:NSObject, UNUserNotificationCenterDelegate{

    func userNotificationCenter(_ center: UNUserNotificationCenter, willPresent notification: UNNotification, withCompletionHandler completionHandler: @escaping (UNNotificationPresentationOptions) -> Void) {

        //completionHandler([.alert, .list, .badge, .sound]) //~iOS13
        completionHandler([.banner, .list, .badge, .sound]) //iOS14~
    }

    func userNotificationCenter(_ center: UNUserNotificationCenter, didReceive response: UNNotificationResponse, withCompletionHandler completionHandler: @escaping () -> Void) {

        let queryString = response.notification.request.identifier
        let url = URL(string:"deeplinktest://deeplink?\(queryString)")
        if let openUrl = url {
            UIApplication.shared.open(openUrl)
        }

        completionHandler()
    }
}
UNUserNotificationCenterを使います。
通知の詳細については以下の記事で
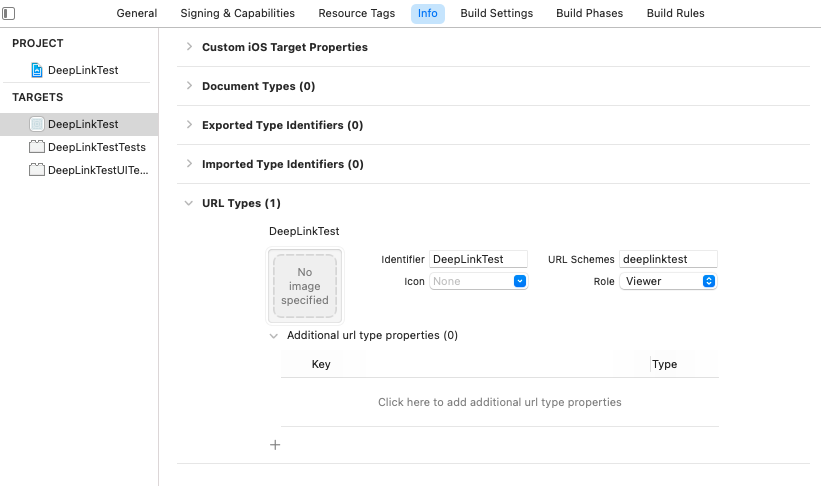
URLスキームの設定

ProjectのInfoからURLスキームを設定します。
DeepLinkから起動する時に使います。
この値で判別するので、これが無いと通知からの起動が出来ません。
なおこの値を設定するとSafariなど他のアプリからの起動もできます。
インストール済みの他のアプリと被ってはいけないので、気をつけて設定しましょう。
通知のポイント
class NotificationModel: ObservableObject {

    //略

    func makeNotification(genre:String ,item:String){

        //日時
        let notificationDate = Date().addingTimeInterval(10)//10秒後
        let dateComp = Calendar.current.dateComponents([.year, .month, .day, .hour, .minute, .second], from: notificationDate)

        //日時でトリガー指定
        let trigger = UNCalendarNotificationTrigger(dateMatching: dateComp, repeats: false)

        //通知内容
        let content = UNMutableNotificationContent()
        content.title = "DeepLinkTest"
        content.body = "\(genre):\(item)"
        content.sound = UNNotificationSound.default

        //リクエスト作成
        let identifier = "Genre=\(genre)&Item=\(item)"
        let request = UNNotificationRequest(identifier: identifier, content: content, trigger: trigger)

        //通知をセット
        UNUserNotificationCenter.current().add(request, withCompletionHandler: nil)
    }
}
今回はidentifierにDeepLinkで使うクエリストリングを入れてしまっています。
UNNotificationRequestは通知を受け取った際の処理で参照できるので、
この中のどこかに必要なデータが含まれればOKです。
UNMutableNotificationContentにはuserInfo: [AnyHashable : Any]があるので、
色々なデータを渡す場合はこれを使うと良いと思います。
私が作ったアプリではCoreDataに保存したデータにUUIDを振っておいて、
identifierにUUIDをそのまま使い、DeepLinkのクエリストリングにも使っています。
そして起動後にUUIDの一致するデータをCoreDataから取ってくる様にしました。
通知の処理
class ForegroundNotificationDelegate:NSObject, UNUserNotificationCenterDelegate{

    //略

    func userNotificationCenter(_ center: UNUserNotificationCenter, didReceive response: UNNotificationResponse, withCompletionHandler completionHandler: @escaping () -> Void) {

        let queryString = response.notification.request.identifier
        let url = URL(string:"deeplinktest://deeplink?\(queryString)")
        if let openUrl = url {
            UIApplication.shared.open(openUrl)
        }

        completionHandler()
    }
}
responseの中にrequestがあるので、ここから必要な情報の抽出してURLにします。
URLスキームは事前に設定した物を使用します。
ここが一致して居ないとアプリを開くことができません。
クエリストリングは英数字のみが無難ですが、
どうしても日本語や記号を入れたい場合はパーセントエンコードして下さい。
StirngにaddingPercentEncodingとremovePercentEncodingメソッドがあります。
ただし、後でクエリストリングを使うときにURLComponentsが上手く動かなくなるので、
自力でパースする必要があります。
DeepLinkからの遷移
struct ContentView: View {

    @EnvironmentObject var notificationModel:NotificationModel

    @SceneStorage("Genre") var genre:String?
    @SceneStorage("Item") var item:String?

    var body: some View {
        VStack {
         //略
        }
        .onOpenURL(perform: { url in
            let comp = URLComponents(url: url, resolvingAgainstBaseURL: true)

            self.genre = nil
            self.item = nil

            DispatchQueue.main.asyncAfter(deadline: .now() + 1){
                self.genre = comp?.queryItems?.first?.value
            }
            DispatchQueue.main.asyncAfter(deadline: .now() + 2){
                self.item = comp?.queryItems?.last?.value
            }
        })
    }
}
onOpenURLで処理します。
常に構築されるViewで有ればどこでも大丈夫ですが、
非表示にする事のないContentViewが最適だと思います。
なお一つ上の階層のAppだとSceneStorageが使えません。
一旦初期画面に戻した上で非同期処理をしています。
SceneStorageを使っているので、起動時の画面が何処かわからない為、
確実に目的の画面に遷移するようnilを入れて初期画面に戻します。
また、SwiftUIのNavigationViewは画面遷移が完了する前に次の遷移が起きると
何故か元の画面に戻ろうとする様です。
完了していないとダメなようで、onAppearでは上手く動きませんでした。
その為、画面遷移が終わる分のマージンを取って次の遷移を行っています。
画面遷移の時間は環境で変わる為、長めにマージンを取っています。
画面遷移完了で発火するメソッドが有ればいいのですが分かリませんでした。
知っている方が居たら是非教えて下さい。
この辺りはView毎に癖がありそうなので、
onOpenURLで入れてしまって良いものや、
待ちが必要なものなど確認しながら調整して下さい。


コメント
[…] 【SwiftUI】ローカル通知と通知からのアプリ起動(DeepLink)SwiftUIアプリでロ… […]